
Kitchen waste: plan by material
Space and weight are different questions
List the removal
Cabinets, counters, flooring and appliances
Flag dense items
Identify surface materials before loading
Align the schedule
Demolition, new deliveries and collection
Confirm the load
Accepted mix, access and loading limits
Renovation-planning illustration. Heavy debris and appliances require approval.
Save this illustrated checklist (SVG)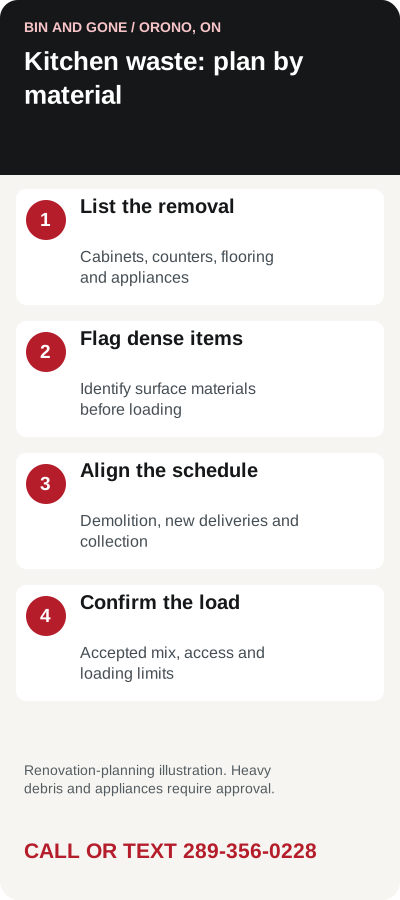
The kitchen footprint is not the disposal volume
A compact kitchen can produce a large pile of cabinets, doors and packaging, while a larger room with only a surface change may produce much less. Start with the removal scope. Count the cabinet sections, note the countertop material and identify the flooring being lifted. Ask the contractor which pieces will be removed intact and which will be safely broken down.
Do not choose a bin only from the room dimensions. A cabinet carcass contains empty space, while a stone-like countertop may create a weight concern before it creates a volume concern. The profile illustrations on this site help compare shapes and approximate calculated volumes. They do not establish usable capacity, weight limits or permission to load a particular surface material.
- Cabinets: count sections and note the longest piece.
- Countertops: identify the material before removal.
- Flooring: separate carpet, boards, tile and other layers.
- Appliances: ask for acceptance advice individually.
Tell the supplier about dense or uncertain material first
Mixed renovation debris is not a single uniform product. Cabinets, tile and fixtures can create very different loads. Heavy debris must be reviewed with Bin and Gone before loading. Appliances and electronics require confirmation too. Chemicals, hazardous materials and cinder blocks are excluded, even if they are only a small part of the project.
Where old building material is unknown or suspected to need specialist handling, stop and obtain qualified advice before disturbing it. A rental quote is not a materials assessment. Clarington provides links to regional waste information for disposal-route questions, but those resources do not establish private-bin acceptance. Keep a separate list of items needing another destination so the demolition crew does not mix them into the approved load.
Schedule the bin around demolition and new deliveries
Ask your contractor when the largest amount of approved waste will be produced. A bin arriving long before that stage can use up working time while obstructing new cabinets or appliances. A bin arriving late can leave waste in the same space needed for installation. Coordinate the preferred rental period with the actual renovation sequence, then confirm availability directly.
For a hypothetical kitchen replacement, demolition could be one stage and new-cabinet delivery another. Put both on a simple calendar and mark the driveway space each vehicle needs. The seven days included in the rental package are useful planning time, not a promise that every renovation will finish within a week. If the programme is uncertain, ask about changes or a longer period before making a booking.
Reserve a private-property position and a usable loading route
Discuss the proposed bin position using a driveway photograph that shows the entrance, turning area and any overhead obstruction. Keep space for contractor vehicles and for the household to enter safely. The loading route should not pass through an area needed for storing new products. Ask the supplier to review access rather than assuming the illustrated bin dimensions are the full truck clearance requirement.
Clarington prohibits storing waste bins on the road. If a boulevard or municipal right-of-way is involved, seek site-specific municipal advice before treating it as available space. A parking arrangement that works for a small car does not prove a delivery truck can place a bin there. Resolve that question while the schedule is still flexible, not after the cabinets have been removed.
Keep the waste quote separate from the renovation quote
The confirmed customer-loaded package is $563.87 CAD including 13% Ontario HST for the 1 ton minimum, seven days, delivery, pickup and fuel. Each additional ton is $226 including HST. It does not include kitchen demolition, appliance disconnection or carrying debris out of the house. Confirm responsibility for loading with your contractor and do not assume those tasks belong to the driver.
Call or text 289-356-0228 with your Orono address, removal list, contractor schedule, proposed placement and preferred dates. Mention countertop and flooring materials before discussing bin size. Ask which material combinations can be accepted and what loading limits apply. A conversation based on those details is more useful than a request for the biggest bin, because the appropriate load and access matter as much as the available volume.
Questions before you book
Can kitchen appliances go in the renovation bin?
Ask before booking. Appliances require individual confirmation and are not automatically included because the project is a kitchen renovation.
Does the rental price cover demolition or disconnecting appliances?
No. The package is customer-loaded bin rental. Demolition, disconnection and carrying work must be arranged separately with appropriate help.
Compare all five bin profiles, review the rental price, check material acceptance and plan delivery access.
Sources and how this guide was prepared
Written for Orono, Ontario using the published Bin and Gone rental offer and the official references below. Check the linked authority for current municipal rules. Project examples and checklist graphics are planning illustrations, not completed customer jobs or engineering advice. Actual materials, access, bin availability and booking terms require confirmation.
- Clarington: garbage, recycling and disposal information
- Clarington: roadway and boulevard placement rules
Business rates: Bin and Gone rental pricing. Loading responsibilities: rental information.